Breaking Down the Process of Collision Repair: What Happens After the Diagnostic?
Car accidents can be stressful and disruptive, but understanding the steps that follow a collision can help ease some of the anxiety. Most drivers are aware of the initial diagnostic phase—where a technician inspects the damage and determines a preliminary repair plan. However, what happens after this diagnostic assessment? The collision repair process is far more intricate and comprehensive than many realize.
In this post, we’ll break down the entire process following the initial diagnostic, offering a step-by-step guide to what drivers and vehicle owners can expect. Whether you’re dealing with minor fender benders or major structural repairs, knowing what goes on behind the scenes will help you make informed decisions, communicate effectively with your repair shop, and ensure your vehicle is restored to its pre-accident condition.
The Initial Diagnostic: A Quick Recap
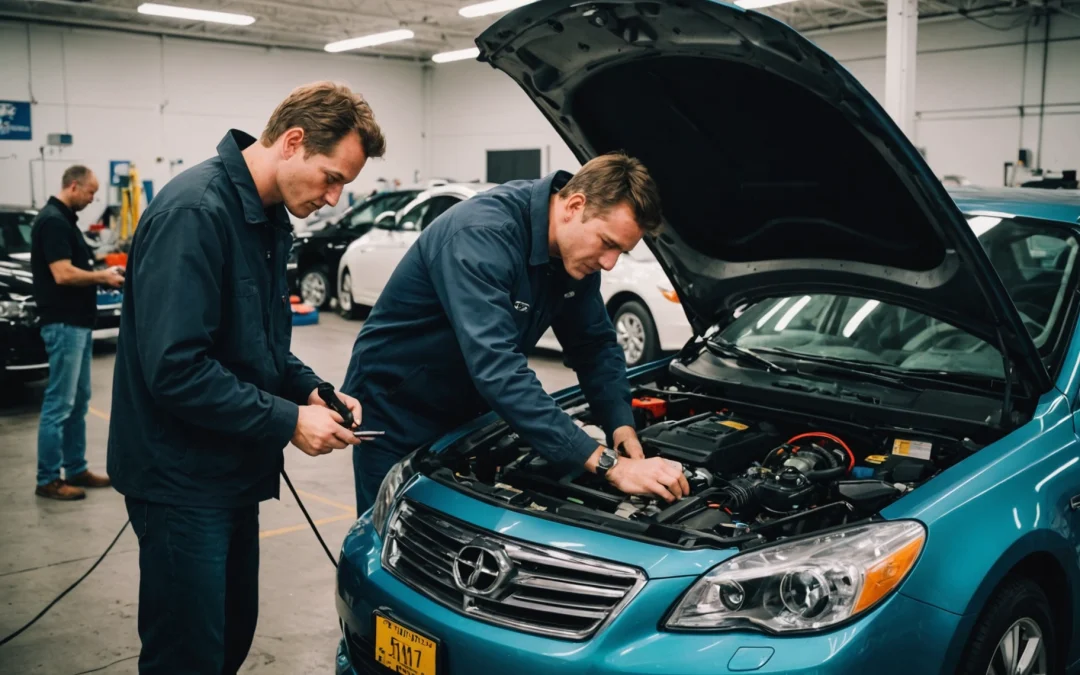
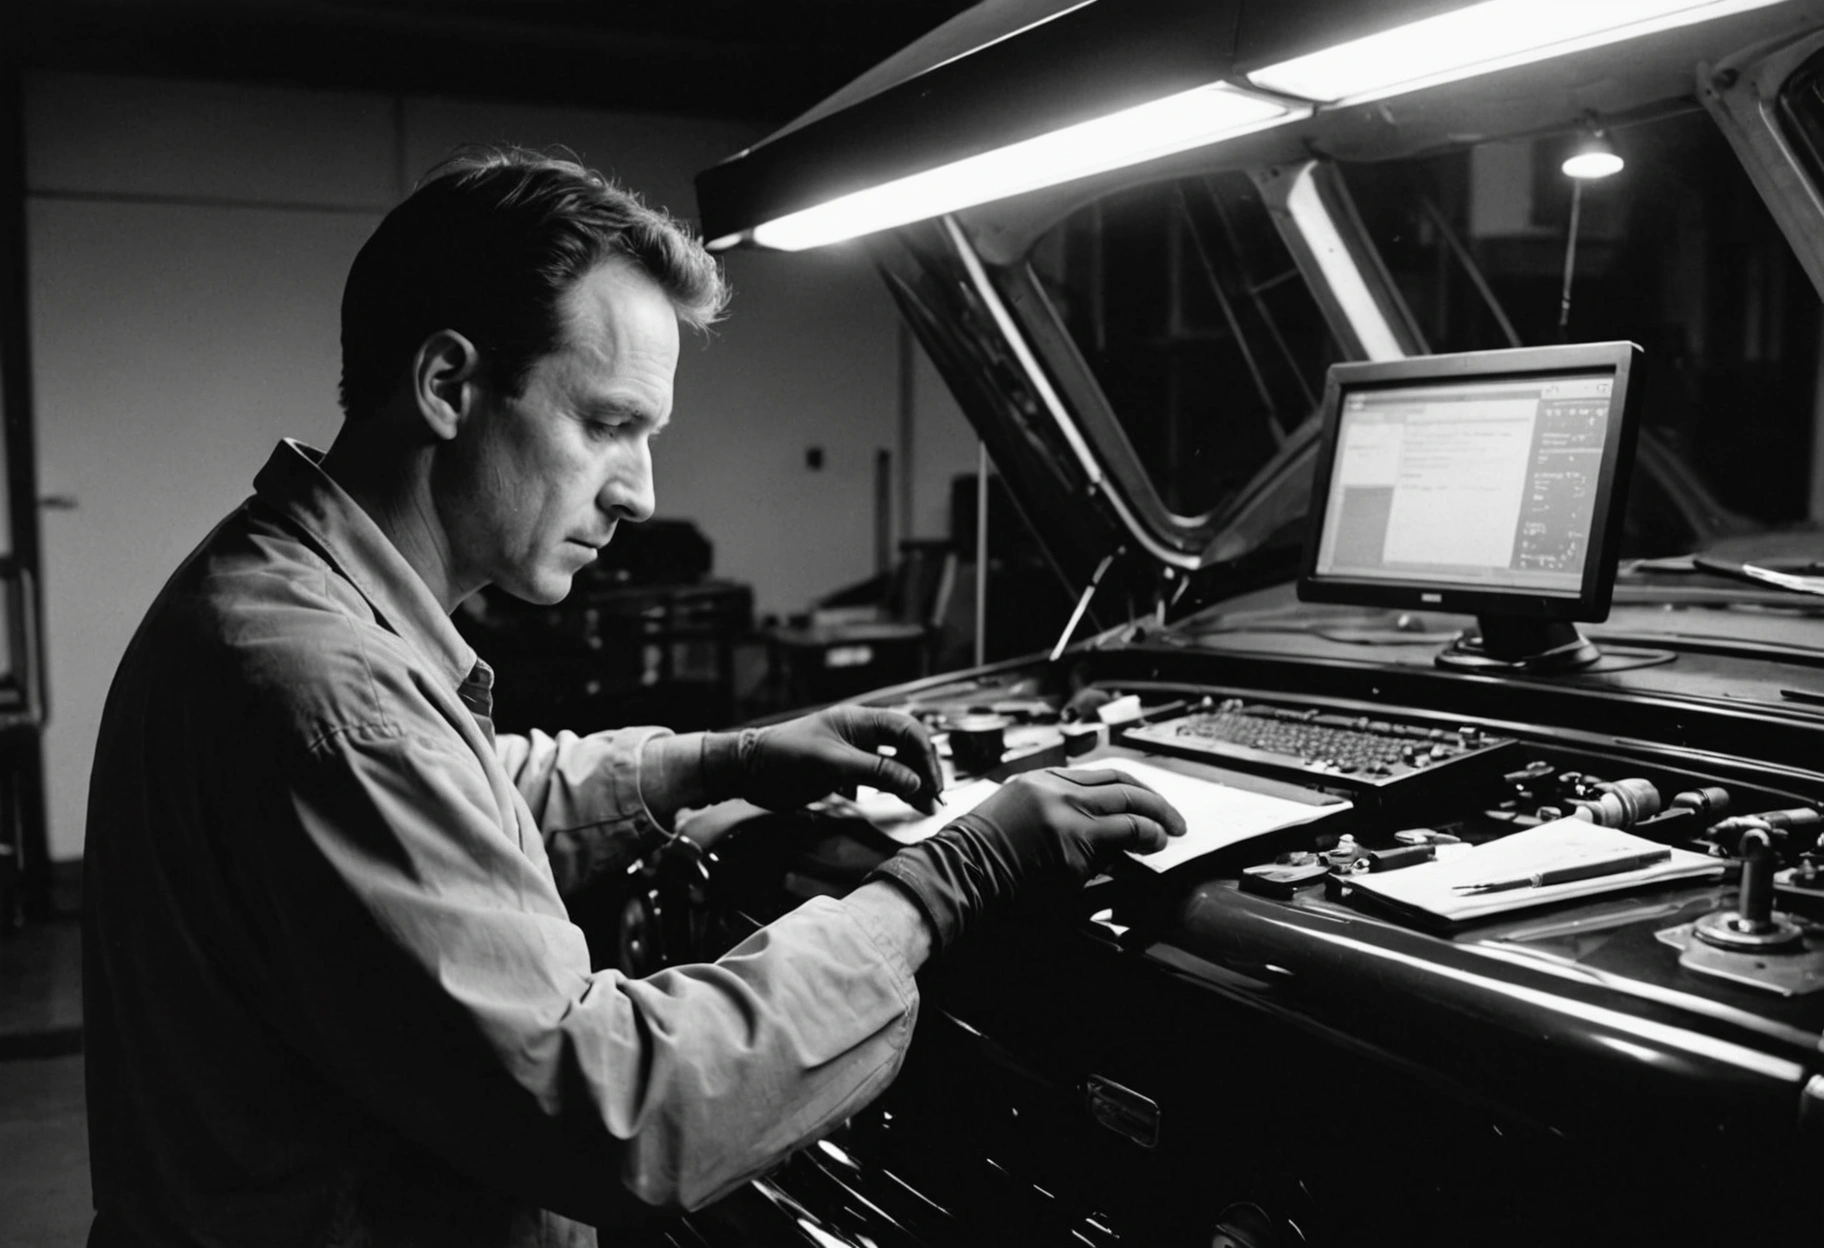
Before delving into the core of the repair process, it’s important to briefly revisit the diagnostic phase. After a collision, your vehicle is thoroughly inspected to identify visible and hidden damages. This often involves computerized diagnostic tools, frame alignment checks, and sometimes, dismantling certain parts for a closer look. The information gathered here forms the basis for the repair estimate and guides all subsequent steps.
For those interested in the technology behind this, the National Highway Traffic Safety Administration’s guide to diagnostic tools provides a comprehensive overview of the systems repair shops use during this critical initial phase.
Step 1: The Repair Estimate and Insurance Approval
Once diagnostics are complete, the repair shop prepares a detailed estimate. This document itemizes all required repairs, replacement parts, and labor costs. In many cases, the estimate must be submitted to your insurance company for review and approval before any work begins. This negotiation can sometimes lead to additional inspections, clarifications, or even adjustments to the estimate based on the insurance adjuster’s assessment.
A transparent and detailed estimate is crucial—it not only protects your interests but also streamlines communication between the repair facility and insurer. Make sure you review the estimate carefully, and don’t hesitate to ask questions about any listed items or charges. For more tips on navigating this process, check out the Consumer Reports guide to handling car accident repairs.
Step 2: Parts Procurement and Disassembly
With insurance approval secured, the repair shop moves on to ordering the necessary replacement parts. The availability of parts can significantly affect repair timelines. Original Equipment Manufacturer (OEM) parts, aftermarket alternatives, or used parts may be considered, depending on your insurance policy and personal preferences. OEM parts generally ensure the best fit and finish, while aftermarket and recycled parts may help reduce costs.
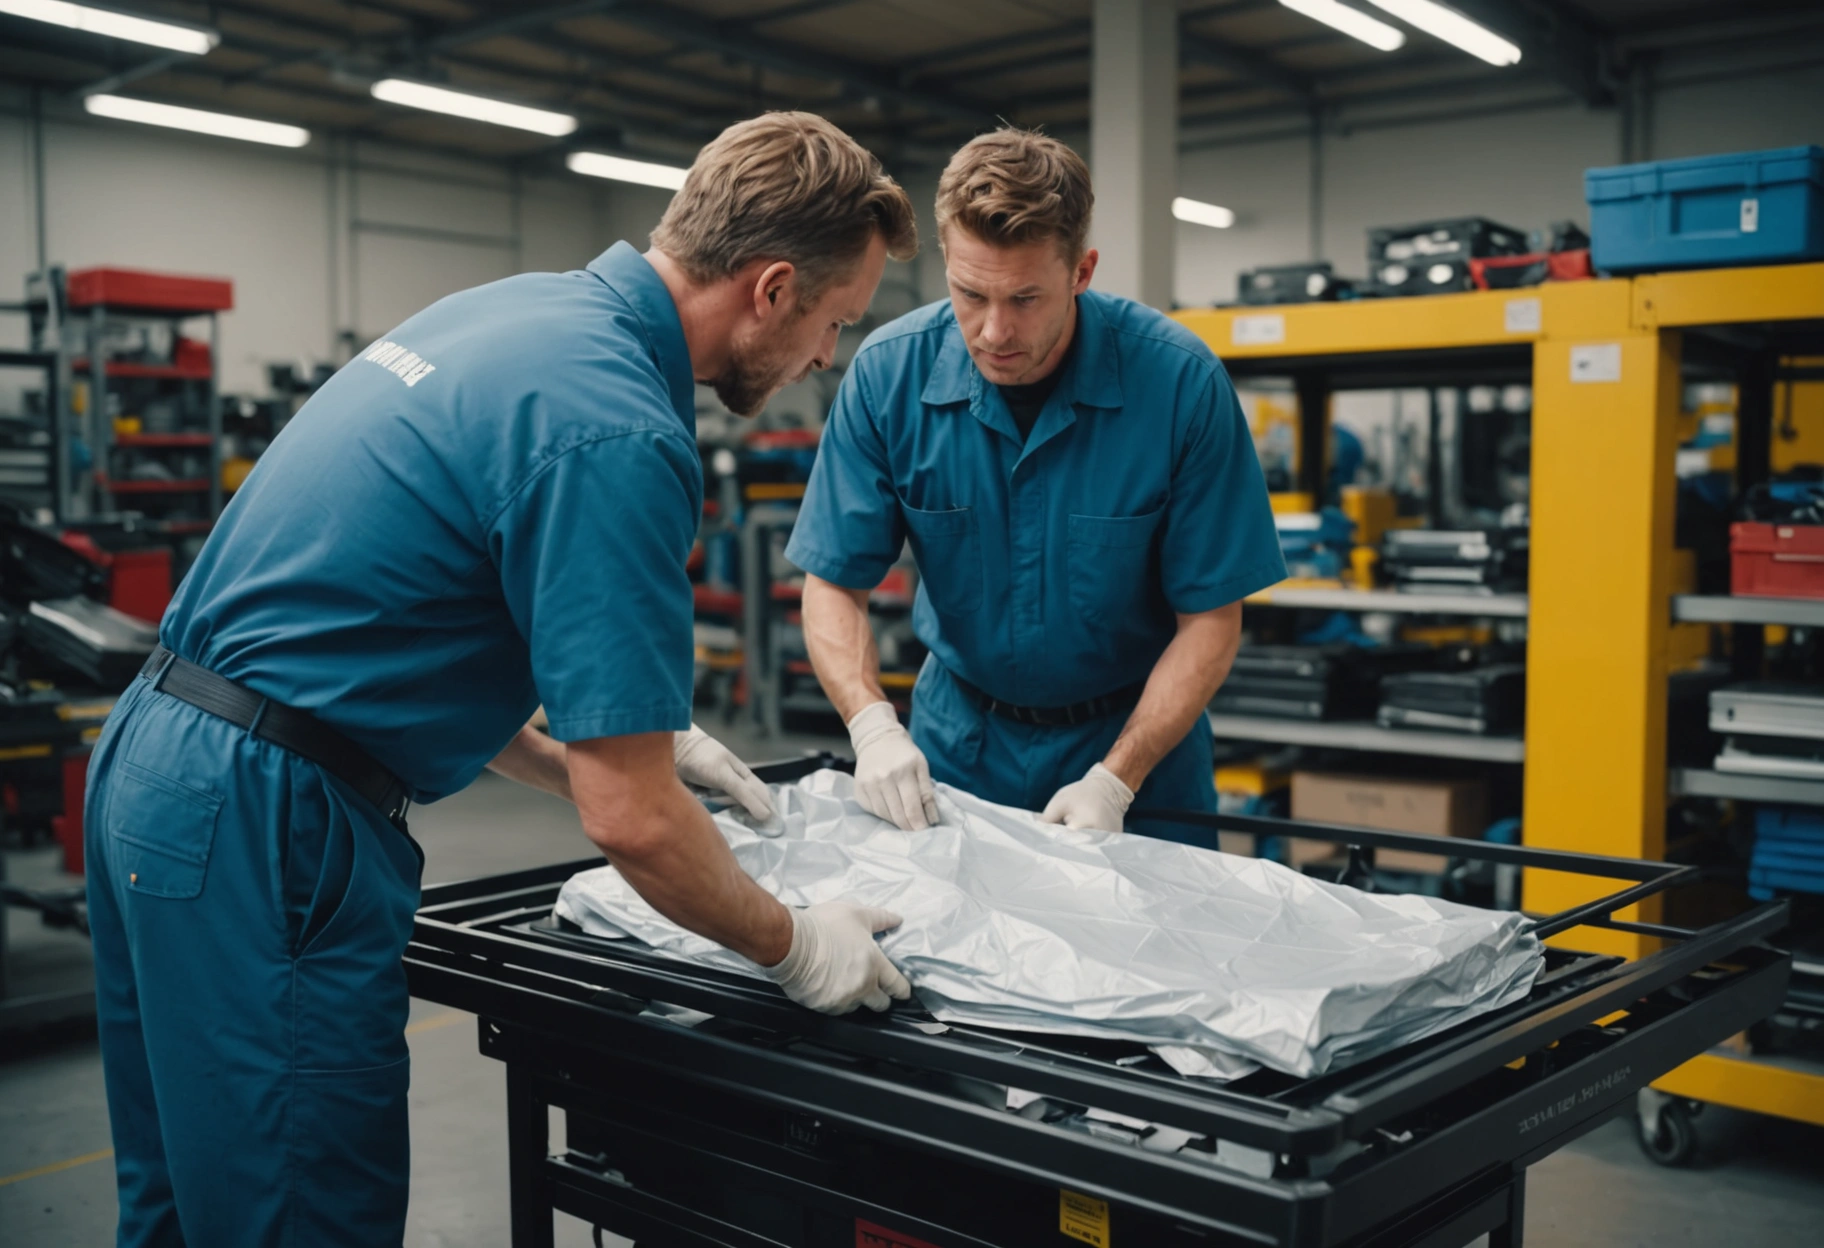
Next, the vehicle enters the disassembly phase. Technicians carefully remove damaged panels, components, and trim to expose hidden damage. This step is essential because collision impacts can transfer force throughout the vehicle, causing issues not evident during the initial diagnostic. If additional problems are discovered, a supplemental estimate is prepared and submitted for further insurance approval.
Why Disassembly Matters
Disassembly is not just about removing broken pieces—it’s about uncovering the full extent of the impact. For example, a minor-looking bumper hit can mask damage to the underlying frame or suspension. If these issues go undetected, your vehicle’s safety and performance could be compromised. By thoroughly dismantling affected areas, repair shops protect both your investment and personal safety.
Step 3: Structural and Frame Repairs
Collisions often impact a vehicle’s structural integrity, especially in moderate to severe accidents. If the frame or unibody is bent, twisted, or otherwise damaged, precise repairs are required. Shops use computerized measuring systems and hydraulic frame machines to restore the chassis to factory specifications. This technology ensures that critical dimensions—such as wheelbase, track width, and mounting points—are accurate.
Restoring structural integrity is vital for vehicle safety. Even small misalignments can lead to uneven tire wear, poor handling, and diminished crash protection in the event of another accident. Professional shops provide detailed documentation of frame repairs, which you should keep for your records. For a deeper dive into the science behind frame straightening and unibody repair, this resource provides valuable insights.
Welding and Replacement
In some cases, sections of the frame or body may be too damaged for repair and must be replaced entirely. Technicians use advanced welding techniques—such as MIG, TIG, or spot welding—depending on the material and manufacturer requirements. Correct welding ensures the new sections are as strong as the original. Modern vehicles use a mix of materials like high-strength steel, aluminum, and composites, each requiring specific expertise.
Step 4: Body Work and Surface Preparation
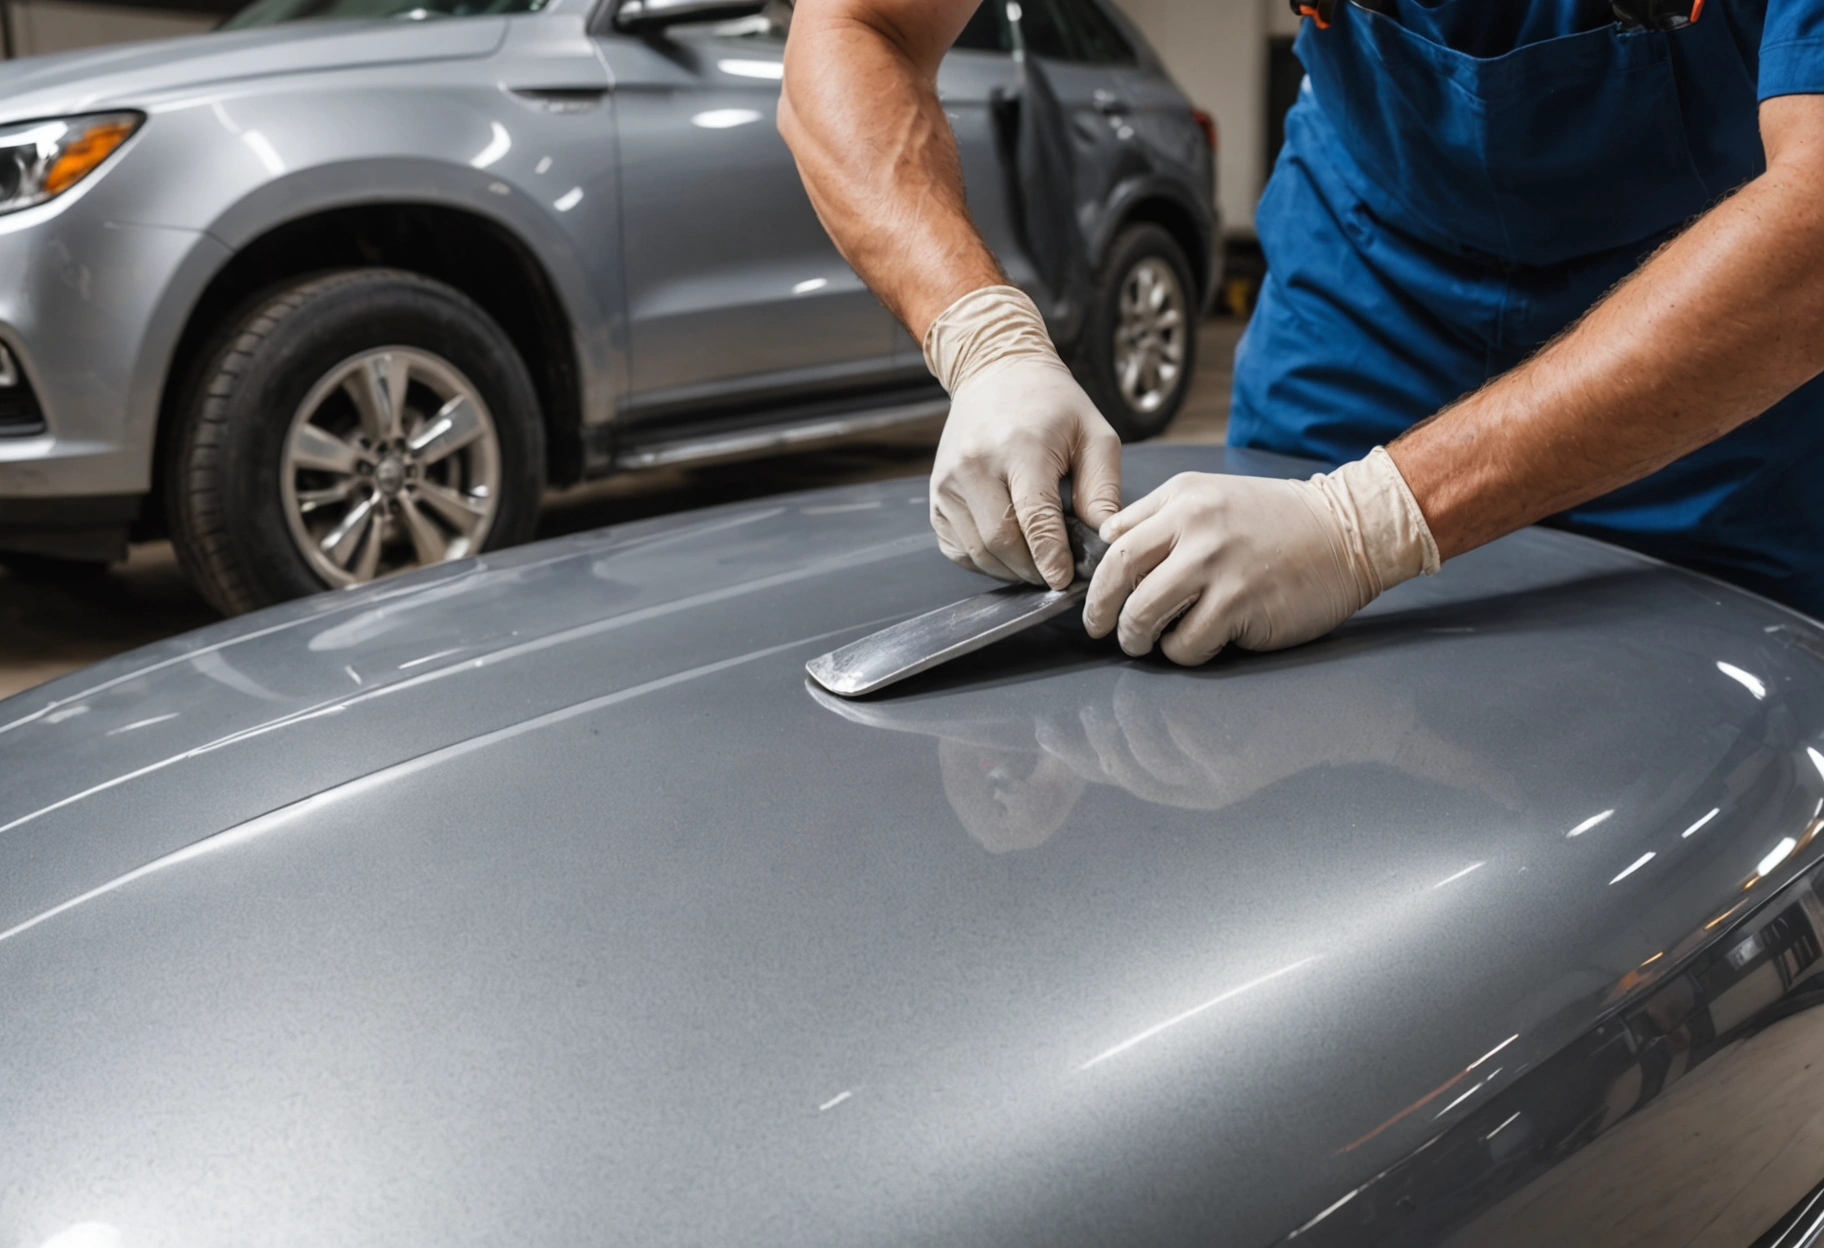
Once the structure is sound, attention turns to the vehicle’s exterior panels. Technicians repair or replace doors, fenders, hoods, and other body parts. Minor dents may be removed using paintless dent repair (PDR), a technique that preserves the original paint and is ideal for small, shallow dings. Larger areas of damage require filling, sanding, and reshaping to restore smooth lines and contours.
Surface preparation is painstaking but essential. The area is cleaned, sanded, and primed to ensure maximum paint adhesion and a flawless finish. This stage also involves aligning body panels to achieve consistent gaps and proper fitment, which is both an aesthetic and functional concern. Precision here means your vehicle will look and perform as intended after the repairs.
Paint Matching and Refinishing
Achieving a seamless paint finish requires expertise and technology. Modern paint booths provide a controlled environment for spraying, drying, and curing. Technicians use computerized color-matching systems to blend new paint with the existing finish, taking into account factors like age, exposure, and manufacturer codes.
Multiple layers—primer, base coat, clear coat—are applied, with each layer meticulously inspected. The final finish is buffed and polished for a showroom-quality appearance. For car enthusiasts curious about the chemistry and process behind automotive paint, the Autoblog explanation of how car paint works is a fascinating read.
Step 5: Mechanical and Electrical Repairs
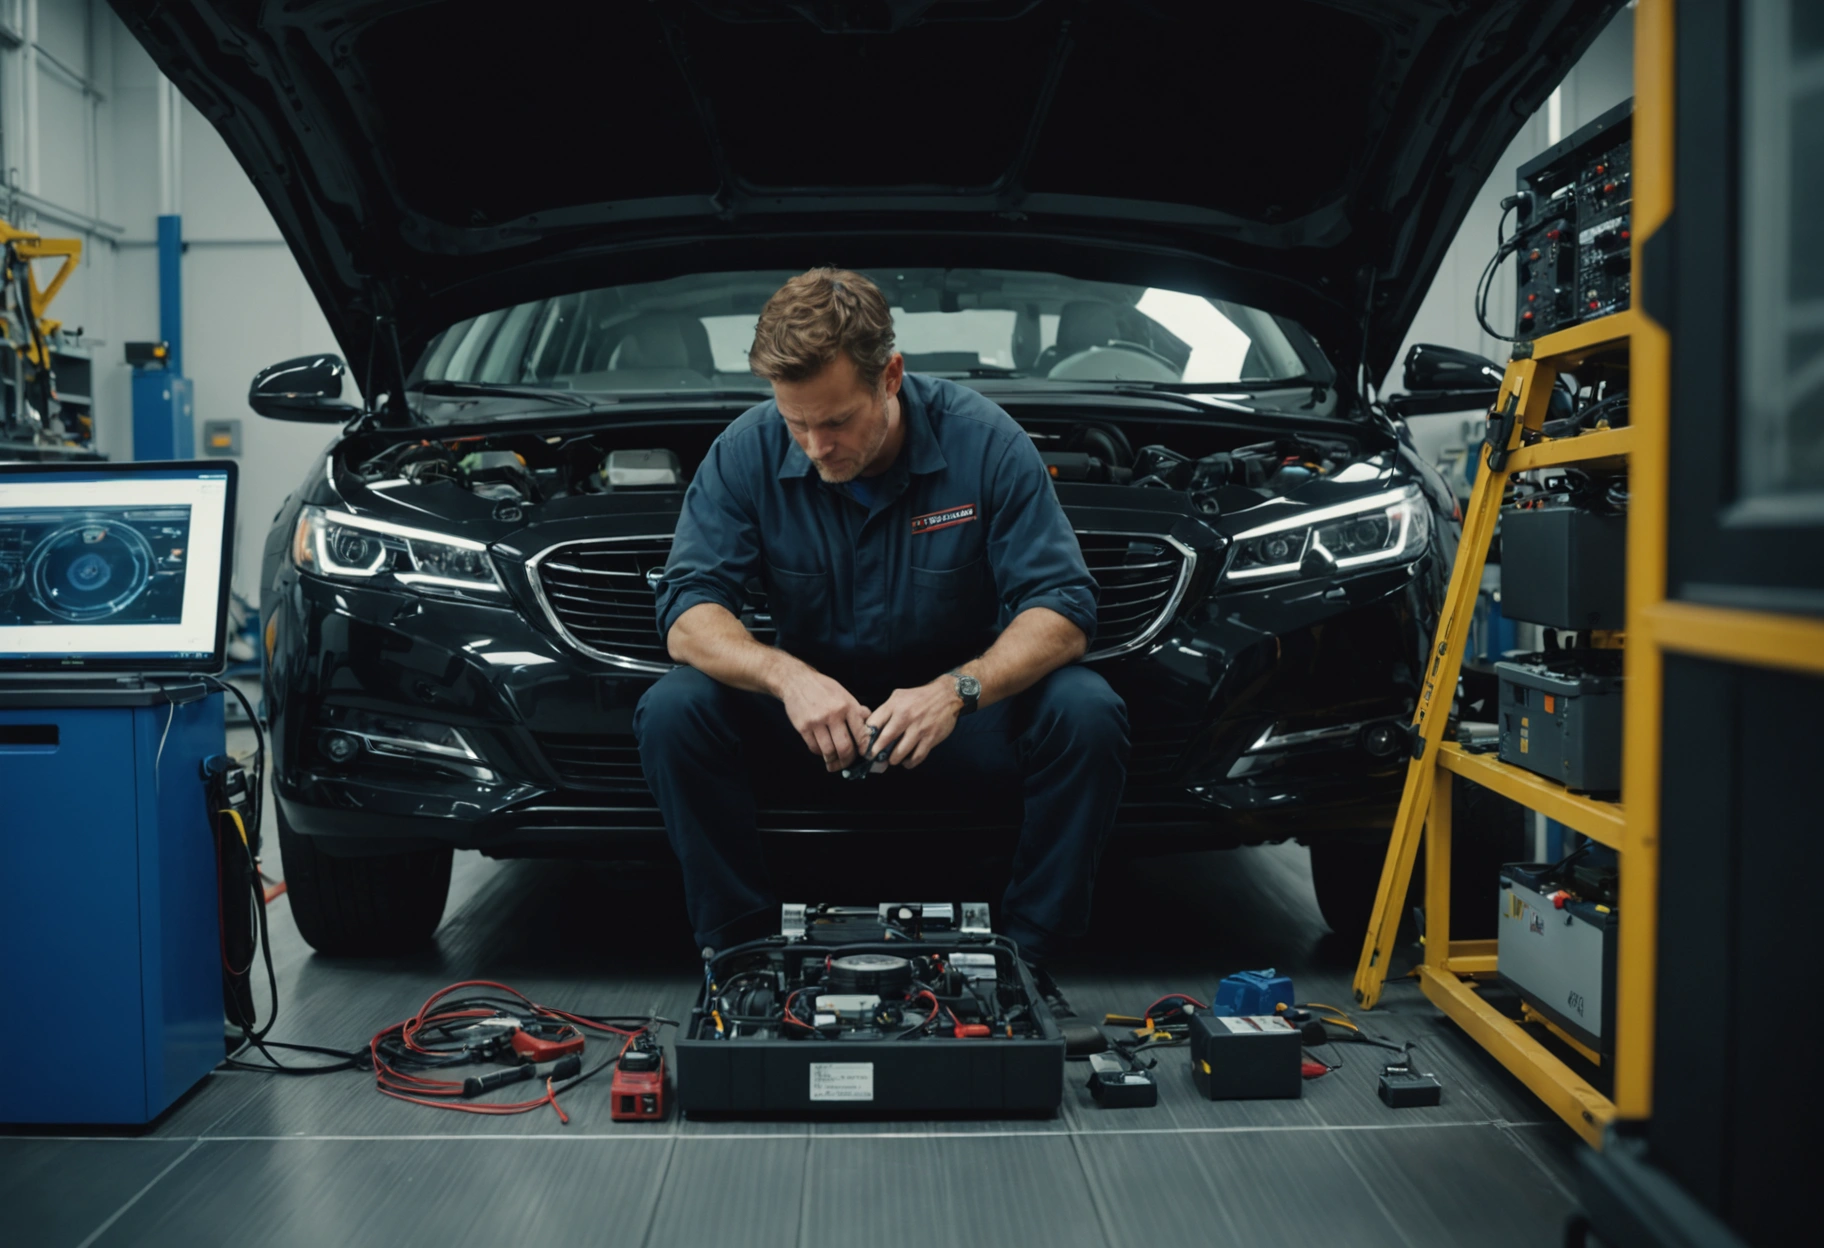
Collision damage can affect more than just the body and frame. Modern vehicles integrate complex mechanical and electronic systems—airbags, sensors, suspension components, and more. During this phase, technicians repair or replace damaged mechanical parts, recalibrate sensors, and ensure all safety systems operate correctly.
For example, airbag deployment during a crash requires not just replacement of the airbags themselves, but also resetting or replacing related sensors and modules. Advanced driver assistance systems (ADAS), such as lane-keeping assist and adaptive cruise control, may need recalibration to ensure accurate operation. Failing to address these systems can result in warning lights, malfunctioning features, or even compromised safety. For an authoritative look at ADAS calibration after collision repair, this article provides in-depth information.
Quality Control for Mechanical Repairs
After all mechanical and electrical repairs are completed, the shop performs rigorous testing. This may include road tests, diagnostic scans, and safety system checks. The goal is to ensure that all systems function as designed and that no warning lights or error codes remain. Documentation of these tests is often provided to customers as part of a transparent repair process.
Step 6: Reassembly and Detailing
Once structural, body, paint, and mechanical repairs are finished, the vehicle is ready for reassembly. Technicians carefully reinstall all removed components, including trim, interior panels, lights, and accessories. Special attention is paid to alignment, fit, and function—ensuring that everything looks, feels, and works just like it did before the accident.
During this phase, the vehicle often undergoes a thorough cleaning and detailing. This includes washing, vacuuming, and polishing both the exterior and interior. Not only does this restore the vehicle’s aesthetic appeal, but it also allows for a final inspection to catch any imperfections or unresolved issues before delivery to the customer.
Final Quality Assurance
Before the vehicle is returned, most reputable shops perform a final quality assurance inspection. This involves a checklist covering all aspects of the repair: panel alignment, paint finish, mechanical function, and safety systems. Any remaining issues are corrected at this stage. The shop may also provide a warranty on the repairs, giving you peace of mind as you get back on the road.
Communication and Customer Involvement
Throughout the collision repair process, clear communication between you, the repair shop, and your insurance provider is key. Many modern shops use digital platforms to keep customers updated with repair status, photos, and expected completion dates. Don’t hesitate to ask for updates or clarification at any stage—an informed customer is an empowered customer.
Understanding your rights and responsibilities as a consumer is also important. The USA.gov auto repair resources page offers guidance on choosing a repair shop, reviewing estimates, and resolving disputes. Make sure to keep all documentation related to your repair, as it can be crucial for future warranty claims or resale value.
Post-Repair Considerations
After you’ve picked up your vehicle, it’s wise to inspect the work carefully. Check for paint color consistency, panel alignment, and the operation of all systems. If you notice any issues, report them to the shop immediately. Reputable shops will address concerns promptly to ensure satisfaction.
The Value of a Thorough Collision Repair Process
Collision repair is a complex, multi-phase process that extends far beyond the initial diagnostic. From securing insurance approval and sourcing the right parts to restoring structural integrity, finishing with flawless paint, and recalibrating electronic systems, each step plays a vital role in returning your vehicle to safe, reliable, and beautiful condition.
Being an informed vehicle owner means understanding what happens behind the scenes and knowing what questions to ask. By familiarizing yourself with the entire repair journey, you can better advocate for your interests, ensure quality workmanship, and trust that your car is ready to face the road ahead.
For a more technical breakdown of modern collision repair practices, the BodyShop Business step-by-step guide offers a wealth of additional insights. Remember, a quality repair is not just about aesthetics—it’s about your safety and peace of mind.
Need help with Breaking Down the Process of Collision Repair: What Happens After the Diagnostic??